Adding and Modifying Policy Settings
Policies can control access to certain categories of websites or specific URLs. The Web Security Service (WSS) includes several policies for immediate use, such as the Best Practices policy, which is the default. If you make no changes to policies, the system uses the Best Practices policy. You can change policies at any time. For more information, see the Management Guide.
This topic demonstrates how to control the categories of sites allowed, configure bypasses or exceptions, control file types that are downloadable or uploadable among other configuration options.
Note: Policies are assigned to default groups, which in most cases, are adequate to get started with WSS. For more information about modifying or adding groups, see the WSS Admin Guide.
To add or modify a policy:
- Open a browser and enter the following URL:
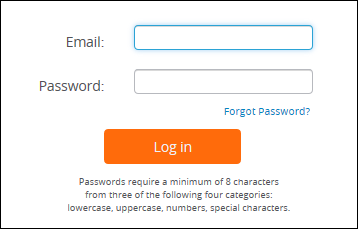
- Log in using your WSS email address and password and click the Log in button.
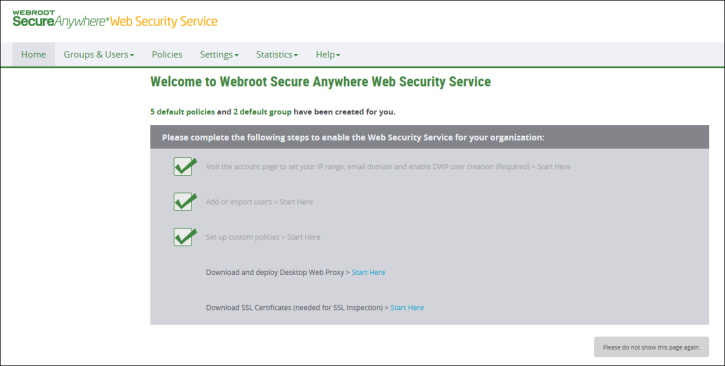
- The first time you log in, the system displays the WSS Welcome window, with a list of steps that you need to complete to enable WSS for your organization. When you've completed the list, click the Please do not show this page again button.
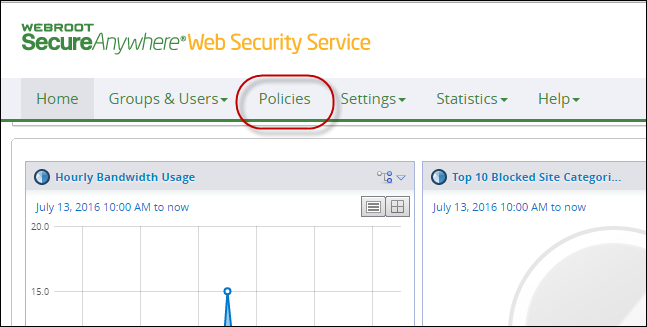
- Click the Policies tab.
The system displays the Policies subtab.
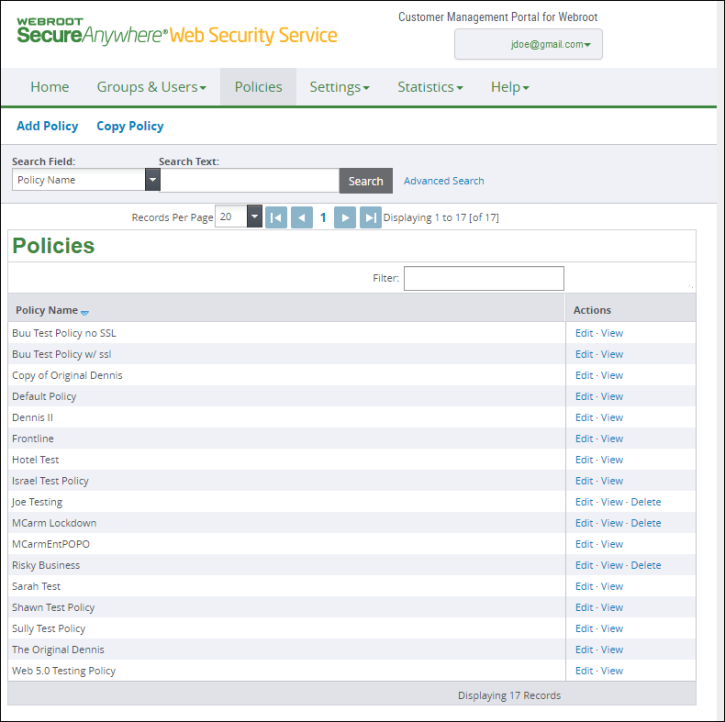
- Do either of the following:
To create a new policy, click Add Policy. When you add a new policy, you must assign it to a group. Click the Groups tab, select the Edit link, and select the newly added policy.
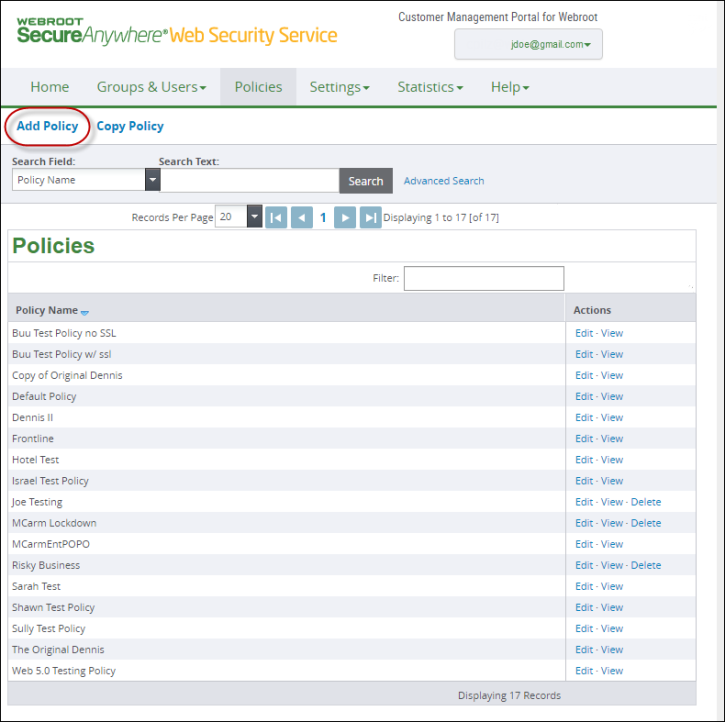
To modify an existing policy, in the Actions column, click the Edit link.

- When you're done, click the Save button.

