Implementing PAC Files for DWP Clients
The instructions for implementing your PAC file depend on whether you configured the service by using the Desktop Web Proxy (DWP) or by using IP-based groups. Do either of the following:
- For DWP client configuration, follow this procedure.
- For IP-based group configuration, see Implementing PAC Files for IP-Based Groups.
To implement DWP client configuration:
- Log in to the Web Security Service portal.
The system displays the Home tab.
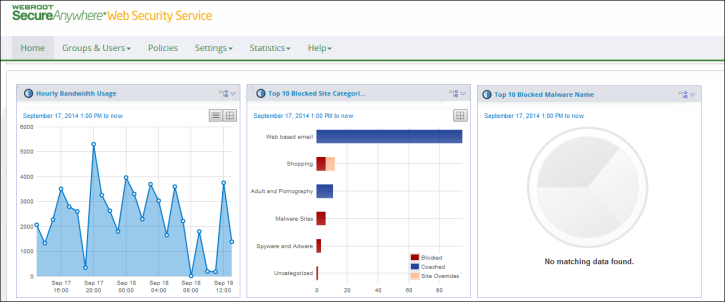
- From the Settings tab, select Accounts.
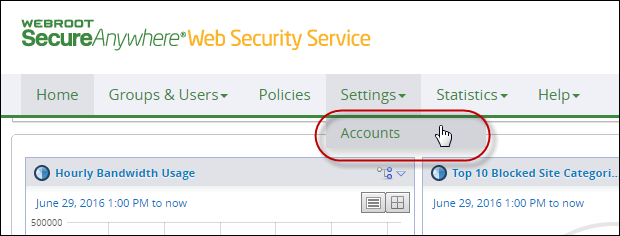
The Accounts tab displays.
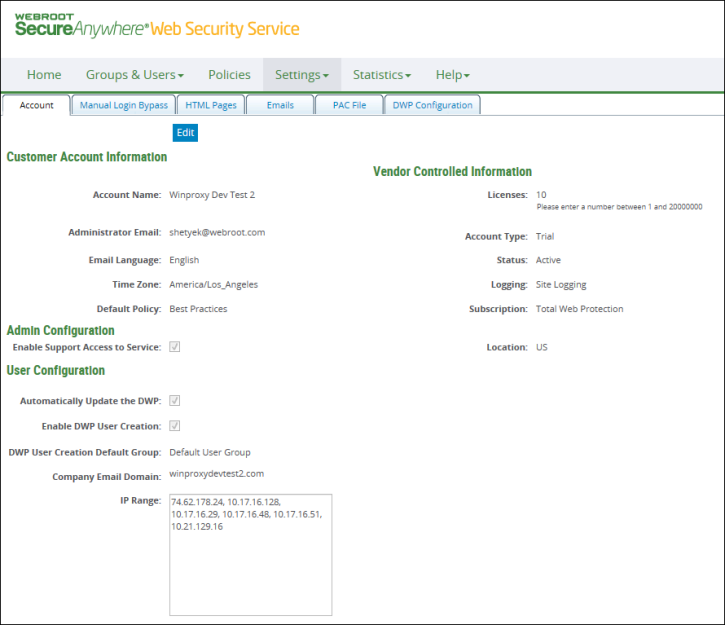
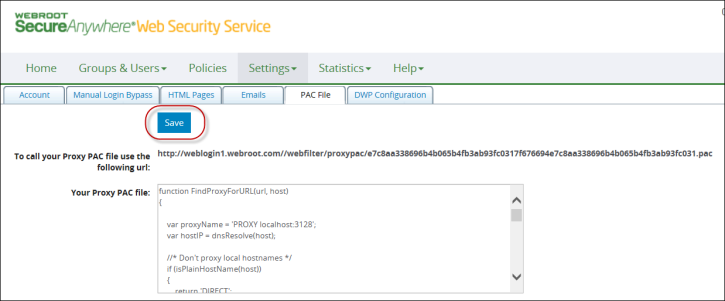
- Click The PAC File tab.
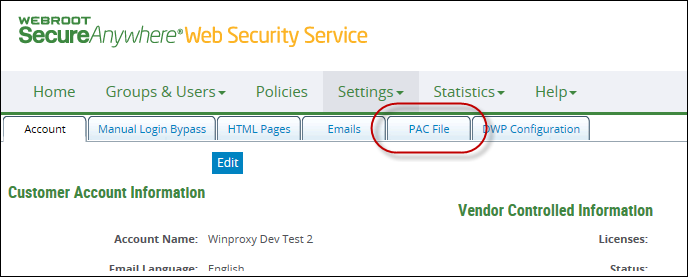
The PAC File tab displays.
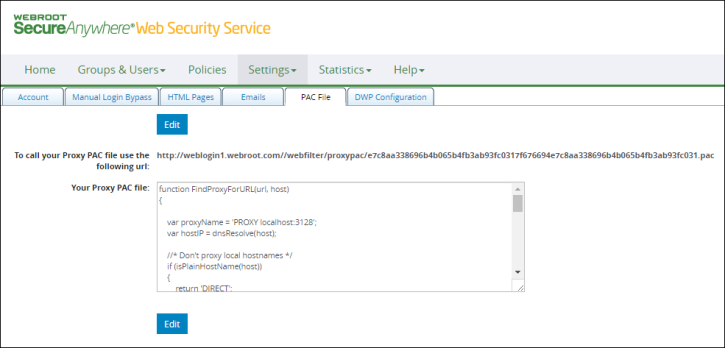
- Click the Edit button to put the PAC File tab into edit mode.
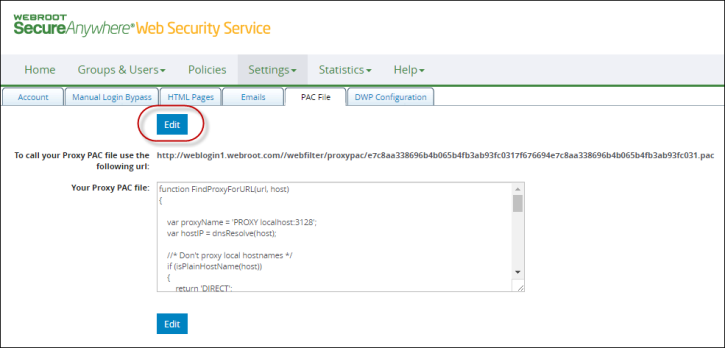
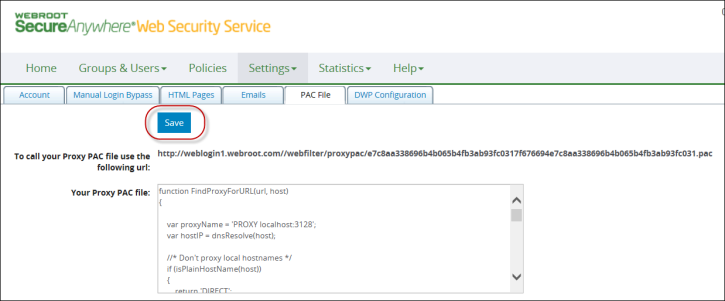
The Edit button now displays as a Save button.
-
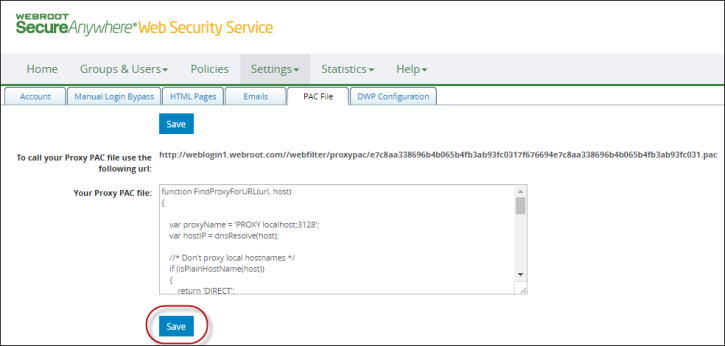
Paste your modified PAC file in the Your Proxy PAC file field.
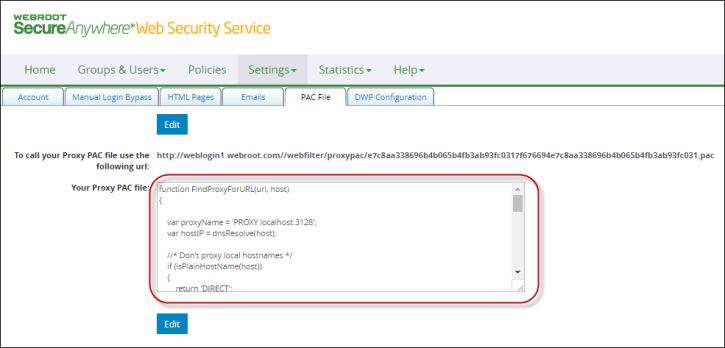
- Click the Save button.
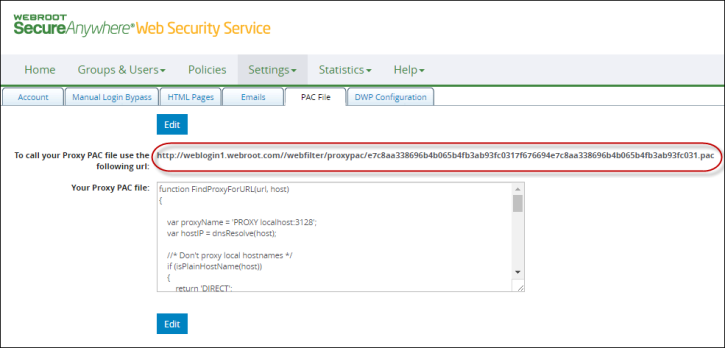
- Highlight and copy the address displayed in the To call your Proxy PAC file use the following url field.
- Click the DWP Configuration tab.
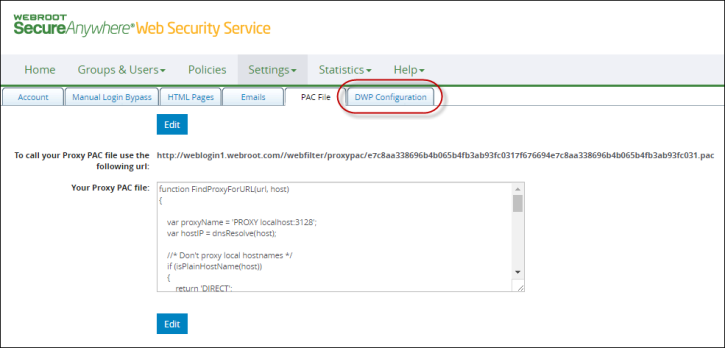
The DWP Configuration tab displays.
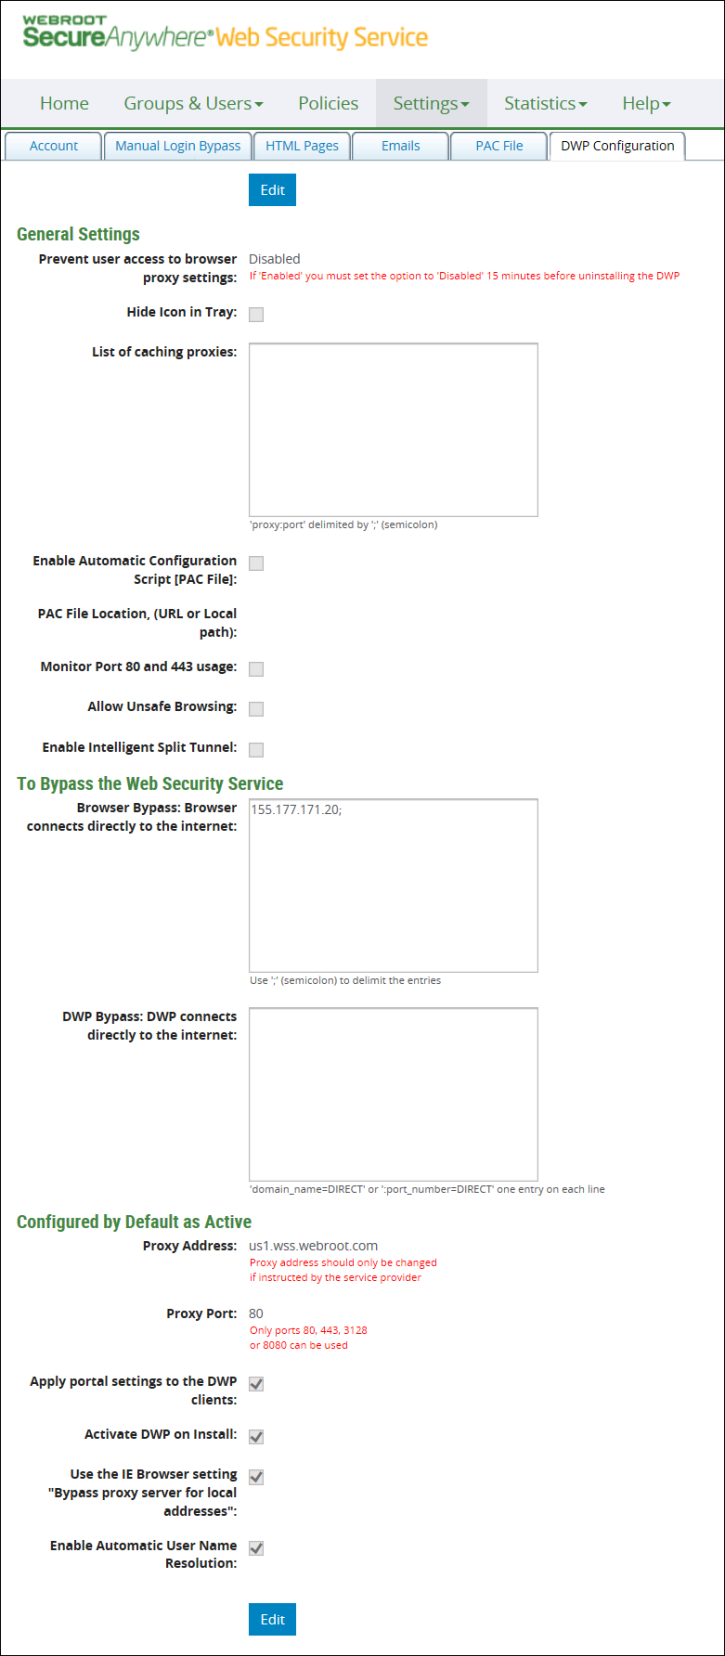
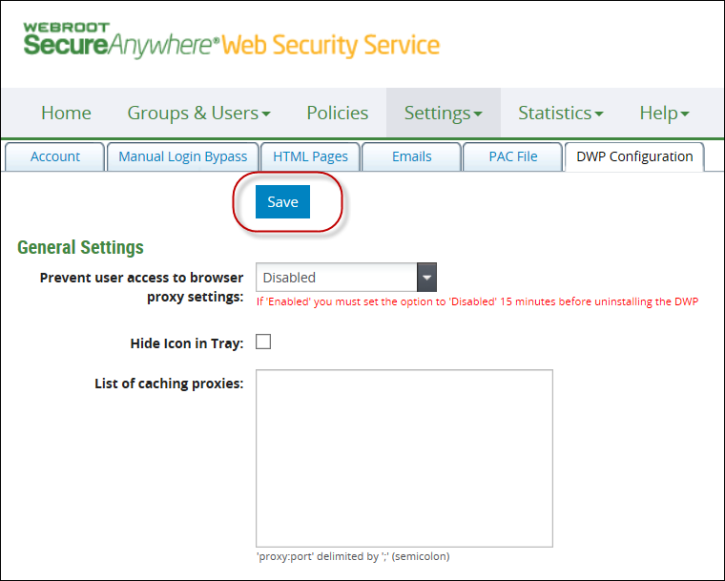
- Click the Edit button to put the DWP Configuration tab into edit mode.
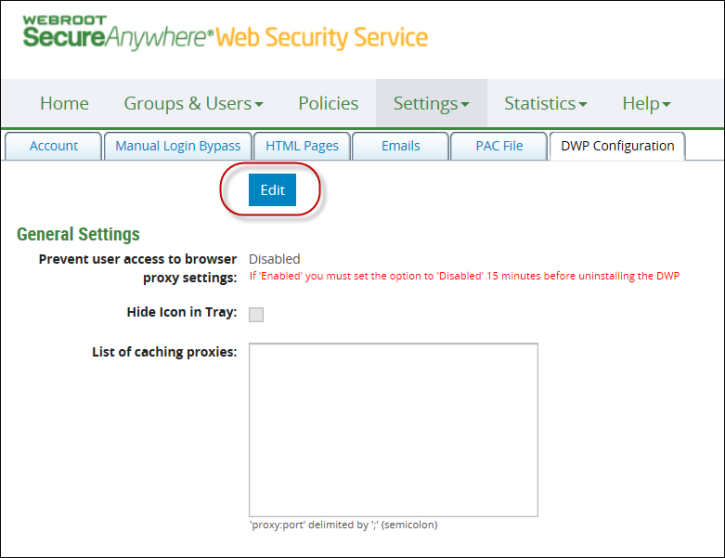
The Edit button now displays as a Save button.
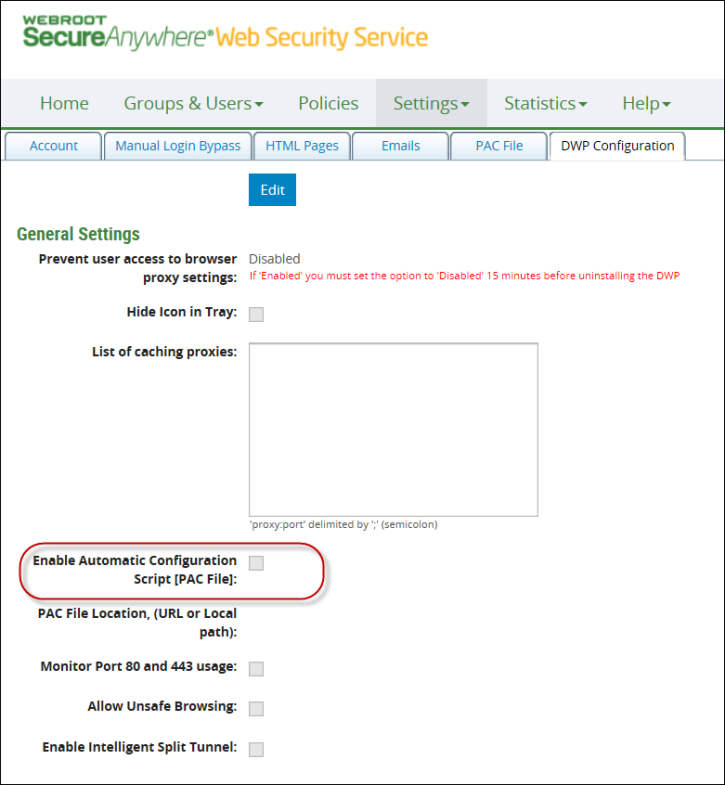
- Select the Enable Automatic Configuration Script [PAC File] checkbox.
- In the PAC File Location field, paste the PAC file URL that you copied from the PAC File tab.
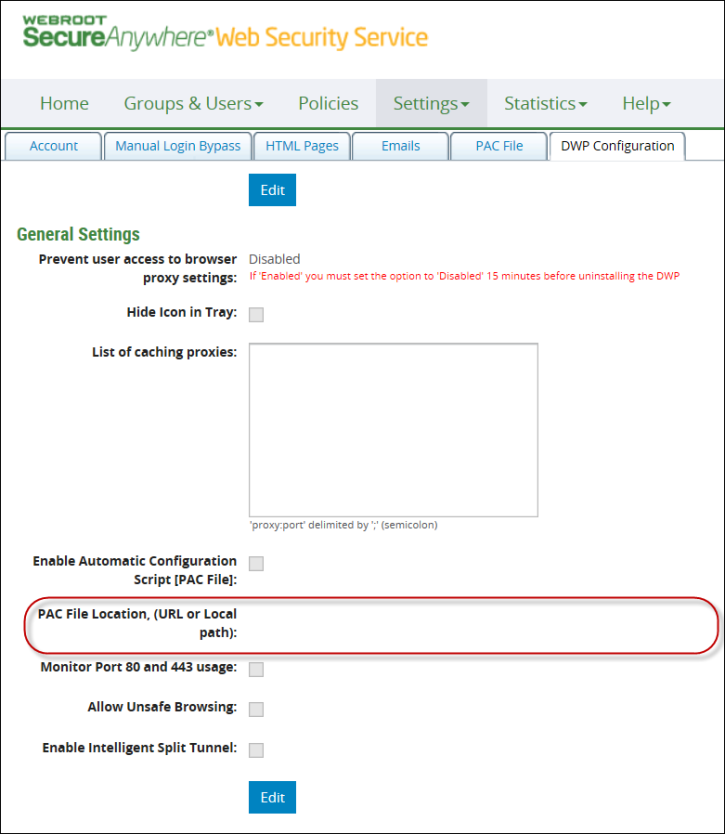
Note: You can apply DWP configurations at the Account or Group level. Keep in mind that Group-level settings take priority over Account-level settings.
- Click the Save button.
If your endpoints all use the DWP client, no further configuration is necessary, as the PAC file settings are applied to the browser.