Adding PCs
If you purchased a multi-license edition, you can install SecureAnywhere on additional PCs using the same keycode. The SecureAnywhere website will display information about these PCs after a scan runs on each one, as described in this section. If you used a different keycode to install SecureAnywhere, follow the instructions in Adding Devices With Different Keycodes.
To view all PCs associated with your account:
- Install SecureAnywhere on each PC, using your multi-seat license keycode.
- When SecureAnywhere prompts for your account information, enter your user name, which is your email address, and password.
- At the end of the installation routine, wait for SecureAnywhere to finish scanning the PC. Do not cancel the scan.
Once the PC is scanned, SecureAnywhere reports into your account and adds the PC to the account website.
- Open your browser and go to my.webrootanywhere.com. For more information, see Logging into your account.
The new PC displays in the PC Security panel. By default, SecureAnywhere displays the machine name
- Click the newly installed PC’s icon to open its information panel.
The Security panel for that computer displays.
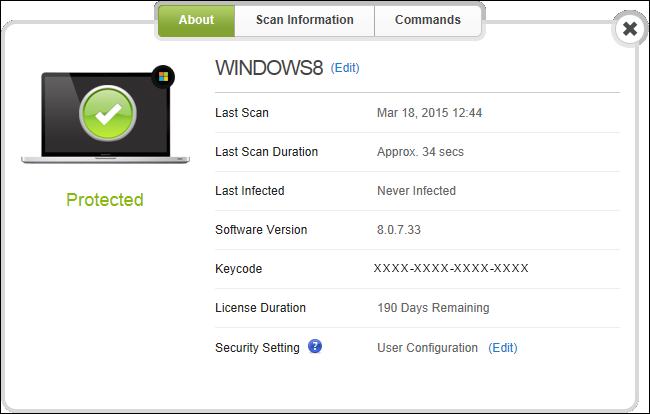
- To change the PC's displayed name, click the Edit link. Enter a new name and then click the green check mark next to the field to confirm.